Step-by-Step Guide for Mining Rig Assembly
Physical assembly protocol from frame preparation to the first boot. Adapted to the voltage, humidity, and temperature conditions of the Ecuadorian environment.
Why order matters in assembly
Assembling a professional mining rig requires technical precision and a logical order to avoid damage from static electricity or incorrect connections. This guide details the physical construction process, from frame preparation to the final connection of components.
In the Ecuadorian context, where hardware is often imported and expensive, following a strict assembly protocol is the best way to protect your investment and ensure long-term system stability. Humidity conditions on the coast and altitude in Quito affect thermal management, so each step includes local considerations.
Space and Tool Preparation
Before touching any component, it is essential to have a clean workspace free of carpets to avoid electrostatic discharges. In regions like Guayaquil, where relative humidity frequently exceeds 80%, the risk of static charge accumulation is lower but does not disappear; in Quito, with lower humidity, the use of a grounded anti-static wrist strap is indispensable.
Basic tools are required: precision screwdrivers, zip ties, quality thermal paste, and anti-static wrist straps. Initial organization of motherboard screws and standoffs will save time and prevent common errors during aluminum frame assembly. Keep a multimeter handy to verify the power supply voltage output before connecting sensitive components.
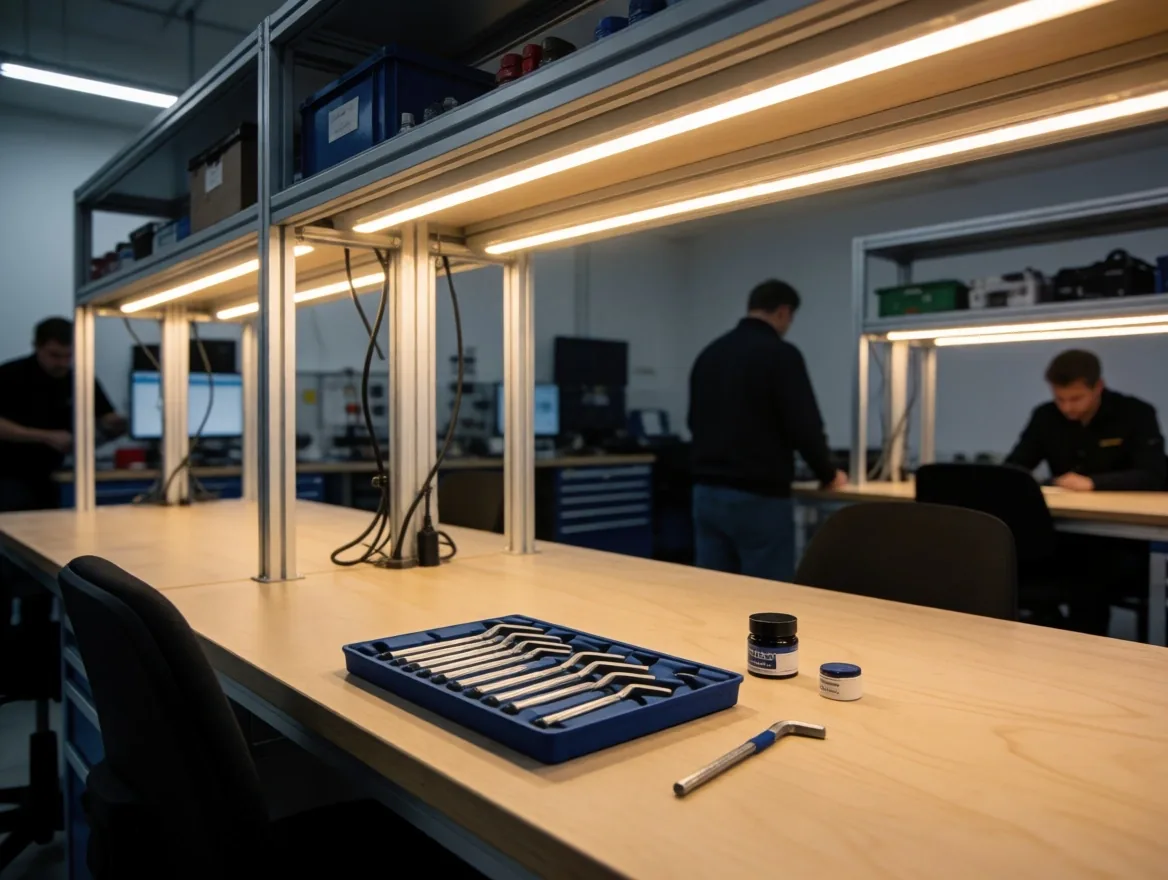
Tools and standoffs organized before aluminum frame assembly.
Motherboard and Processor Assembly
The first step is to fix the motherboard to the mining frame using metal standoffs to prevent the bottom of the board from touching the metal. Direct contact between the printed circuit board and the aluminum can cause an immediate short circuit when power is applied.
Processor installation must be done with extreme care to avoid bending the socket pins. Applying the right amount of thermal paste (approximately the size of a grain of rice) and securing the heatsink is critical, as even if the CPU is not working at maximum capacity, overheating will trigger thermal protections and shut down the rig without warning.
In common mining motherboard configurations (such as the H110 Pro BTC or B250 Mining Expert), manuals specify the heatsink tightening torque. Respect that value: overtightening deforms the socket; undertightening leaves air bubbles between the CPU and the heatsink that act as thermal insulators.
Power Supply Configuration
The power supply must be placed in a position that allows free exhaust of its own hot air. In dual power supply configurations, it is imperative to use a synchronization adapter (Add2PSU) so that both turn on simultaneously; an out-of-sync power supply can send voltage spikes to the risers and damage the video cards.
Cabling must be distributed so as not to obstruct the fans of the video cards that will be installed later, always prioritizing safety over aesthetics. Verify that the power supply supports the 100V to 240V voltage range before connecting it to the Ecuadorian power grid.
Riser and Video Card Installation
This is the most delicate point of the process. Each video card is placed on the frame and connected to the motherboard via a PCIe riser. It is vital to ensure that the riser is firmly seated and that the USB data cable is not excessively tight, as constant fan vibration can loosen poorly installed connections.
We recommend installing a single GPU first to verify that the system boots and recognizes the hardware before filling all available slots. This method reduces the diagnostic field when something goes wrong: if the rig does not recognize one card out of six, isolating the problem takes minutes instead of hours.
PCIe risers version 006C or higher are the most common in the Ecuadorian market. Verify that the riser's USB cable is fully shielded and does not exceed 60 cm to avoid signal loss.
Connecting a PCIe riser to the motherboard. The USB data cable should remain without tension.
Power Cable Management
Each GPU and each riser must receive power directly from the power supply. Low-quality splitter cables should never be used to power multiple powerful cards, as the cables can melt under constant load. A PCIe riser consumes approximately 75W on its own; a splitter that distributes that load between two power supply connectors can overheat.
Organized cable management not only facilitates maintenance but also allows airflow to be laminar and efficient, reducing the ambient temperature between components. In hot climates like the Ecuadorian coast, where ambient temperature can exceed 30 °C, every degree reduced between cards improves system stability and extends component lifespan.
Use zip ties to group cables by type: GPU power cables, riser data cables, and fan cables. Keep data cables away from power cables to minimize electromagnetic interference.
Peripheral and Storage Connection
With the main hardware in place, connect the SSD or flash drive with the operating system. A 60 GB SSD is sufficient to run the operating system and mining software; larger drives only increase consumption without providing operational benefit.
If using an Ethernet cable connection (highly recommended over Wi-Fi), this is the time to route the network cable away from electrical interference sources. An unstable Wi-Fi connection can cause the mining software to lose connection with the pool and reduce the rig's efficiency.
A final check of all connections, ensuring there are no loose contacts, is mandatory before the first power-on. Physically verify every power connector on every GPU and every riser: a partially inserted connector can cause an electric arc under load.
Storage and network cable connected. Ethernet should be kept away from sources of interference.
First Boot and BIOS Configuration
When turning on the equipment, it is necessary to enter the BIOS to adjust specific mining parameters. These settings ensure that the motherboard can correctly address the memory of multiple GPUs and that the rig is as autonomous as possible.
BIOS configuration varies by motherboard manufacturer (ASUS, MSI, Gigabyte, ASRock). Consult the specific manual for your model to locate each option, as names may change between firmware versions.
Thermal Verification and Load Testing
Once the operating system loads and the mining software detects the cards, thermal behavior should be observed for at least two hours. It is normal for temperatures to rise, but they must stabilize below the manufacturer's limits.
If a card shows unusually high temperatures, check the placement of its fans or the distance from the adjacent card in the frame. In Quito, altitude reduces air density and affects cooling capacity; in Guayaquil, high humidity can oxidize exposed contacts over time.
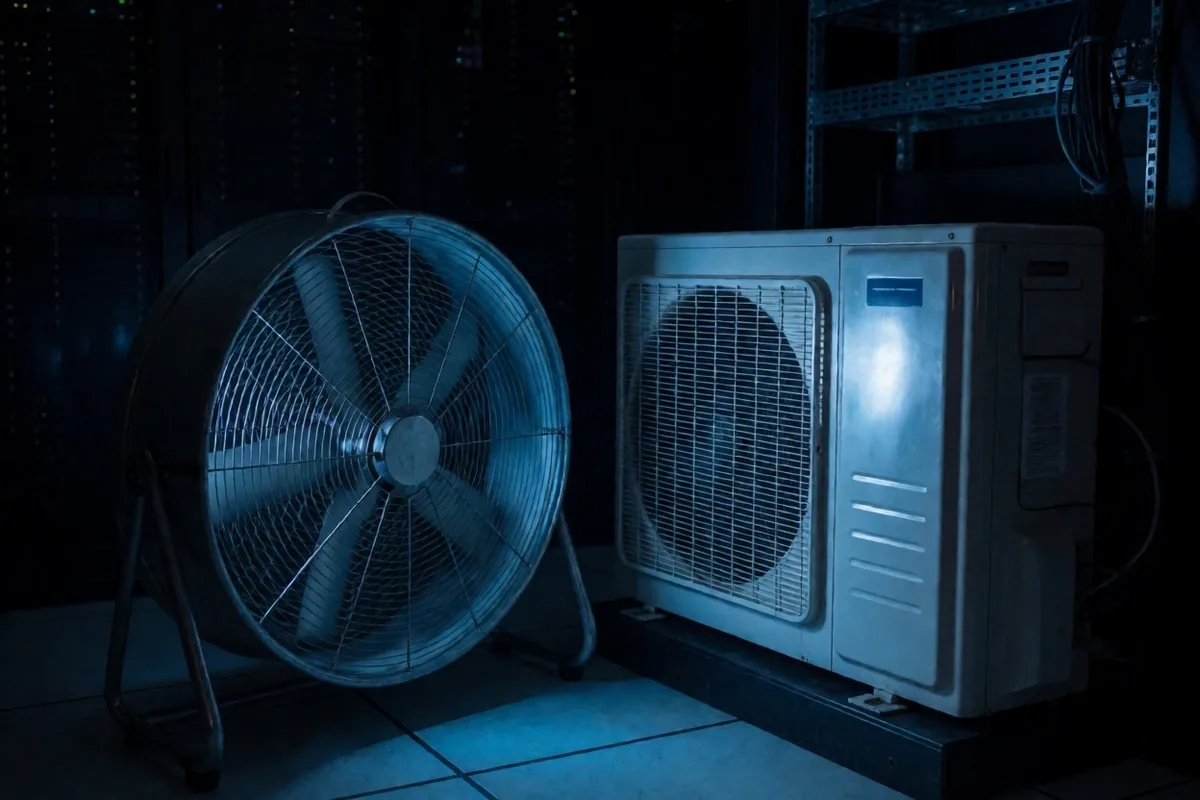
Temperatures should stabilize below 75 °C on each GPU after two hours of load.
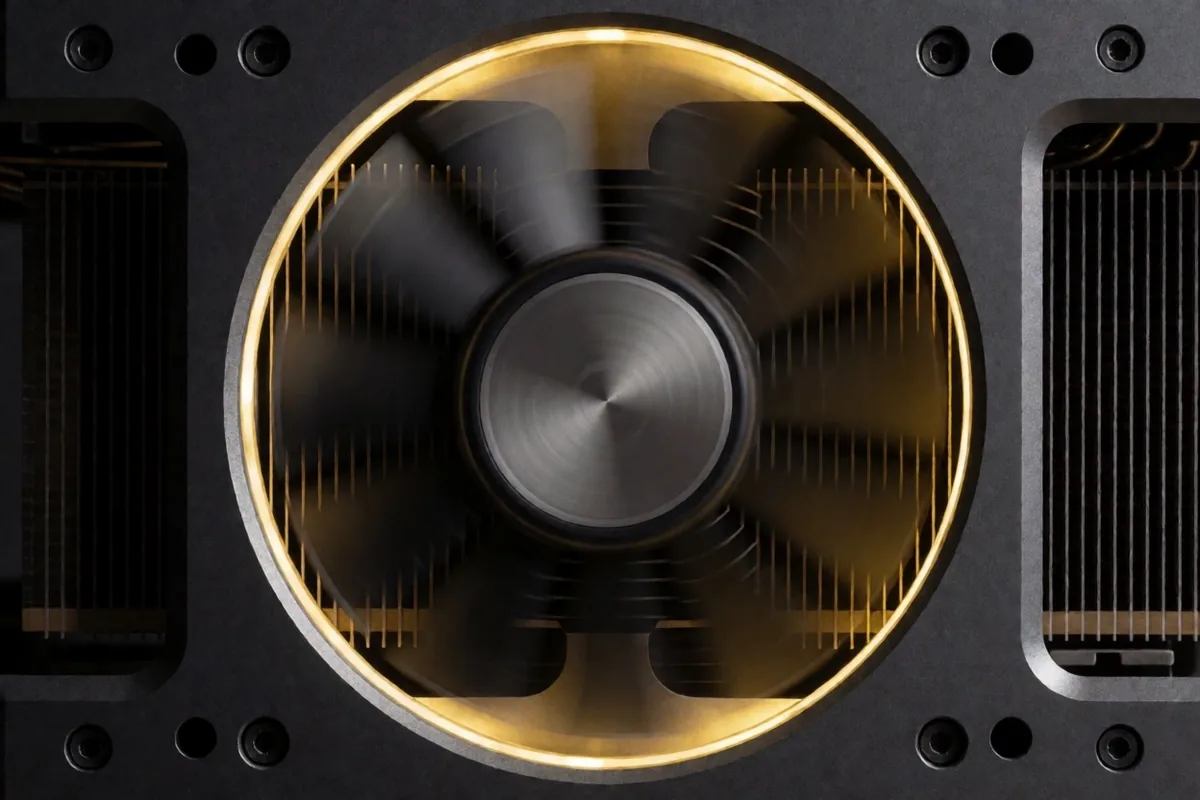
Check that the fans of each card are not obstructed by adjacent cables.
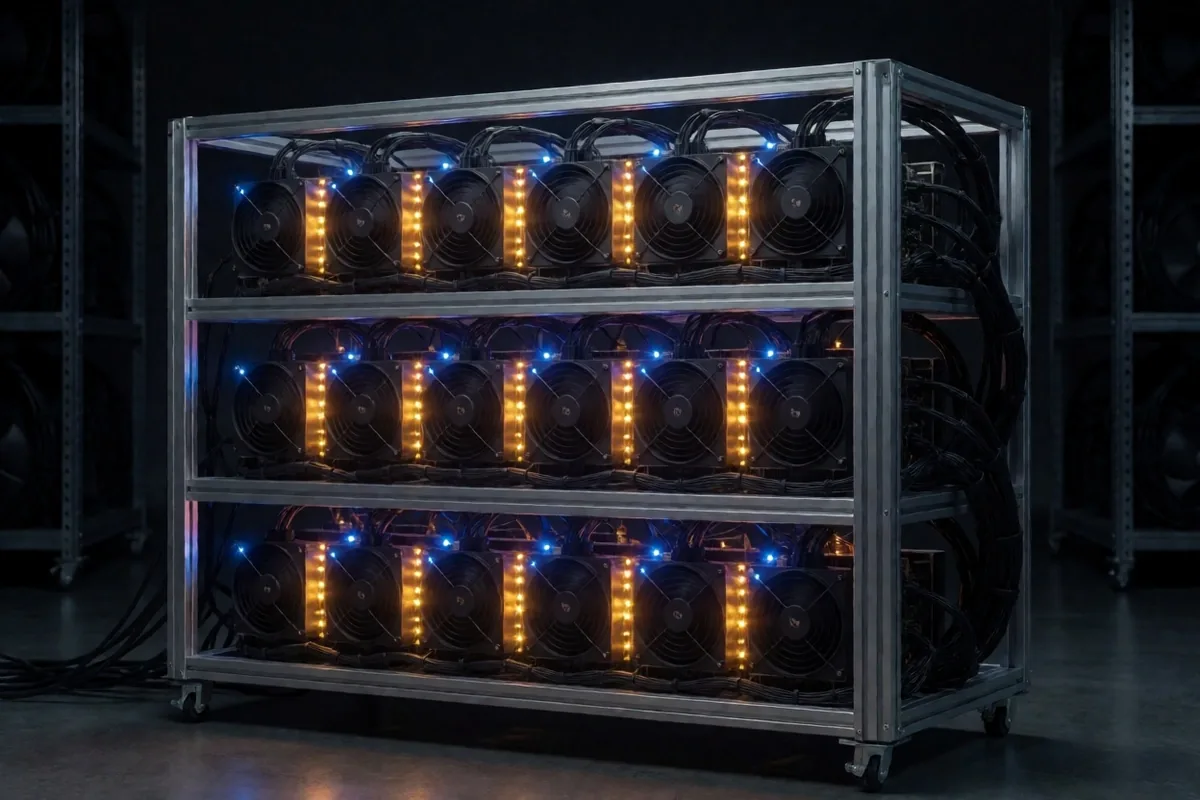
The complete rig after passing all load tests. The assembly is ready for continuous operation.
Frequent failures during assembly
Most problems during the first boot have a simple cause: a poorly inserted connector, a BIOS option not enabled, or a defective riser. This list covers the most common errors and how to identify them before escalating the diagnosis.
If you need help with a rig that won't boot, contact us with photos of the wiring and the error screen for an initial assessment.
The rig does not recognize all GPUs
Verify that Above 4G Decoding is enabled in the BIOS. Check each PCIe riser individually by changing the card's position to isolate the defective one.
The rig shuts down under load
The power supply is not delivering enough power or the power cables are heating up. Check the 12V output on each PCIe connector under load with a multimeter.
A GPU shows an unusually high temperature
Check the distance between adjacent cards, fan placement, and whether the heatsink thermal paste is properly applied. At altitude, consider additional fans.
The rig does not boot after a power outage
Confirm that the AC Power Recovery option is set to Power On in the BIOS. Some motherboards require saving the BIOS profile for the setting to persist.
Risers heat up or the USB cable deforms
Low-quality risers are a frequent cause of failure. Use version 006C or higher risers and shielded USB cables. Do not exceed 60 cm in length.
Complementary resources for assembly
This guide covers the physical assembly process. To delve into other technical aspects of mining operations in Ecuador, consult our related guides on component selection, cooling systems, and software optimization.
Specific questions about assembly?
If you encounter a failure not listed in the common errors, our team can help diagnose the problem. Contact us with hardware details and a description of the symptom.